Core Recipe

Garlic and Olive Oil Mahi Mahi over Sautéed Kale

I have learned to love making mahi mahi. This fish is light in color and rich in nutrients and can be be pretty much topped with anything, making it similar to chicken (okay, maybe that's like saying you can cook a snake with some lemon and it tastes like chicken, or camel, but you get the idea). I will get back to the point: this mahi is topped with olive oil, gomasio seasoning (sea salt, garlic and sesame), and fresh ground pepper. That's all and it's fabulous - make this on your next Tinder date and everyone will be happy with your culinary skills.

Prep Time: 20 minutes Cooking Time: 15-20 minutes Cooking Temperature: 425 degrees Serves: 2

Ingredients: 2 wild mahi filets at about 8-10 ounces for the pair, (or, Whole Foods has wild mahi in the freezer section for about 10 bucks!) 1 T olive oil 1 T gomasio seasoning (get this at your health food store, Whole Foods; or just use sea salt, sesame seeds, and garlic powder) 1/2 T pepper 1/2 bunch green kale (cut off stems, rinse and dry) 1 T olive oil 3 cloves of garlic 1 T Gomasio

Cooking & Chopping: Pre-heat oven to 425. Place tin foil on baking sheet and lightly brush with olive oil. Place fish on top and rub with olive oil, Gomasio and pepper. Place in heated oven and set your timer for 15 minutes. In the meantime, remove kale from stalks and break into 1-inch-sized pieces. Make sure kale is mostly dry by patting with paper towels or a clean dish towel.

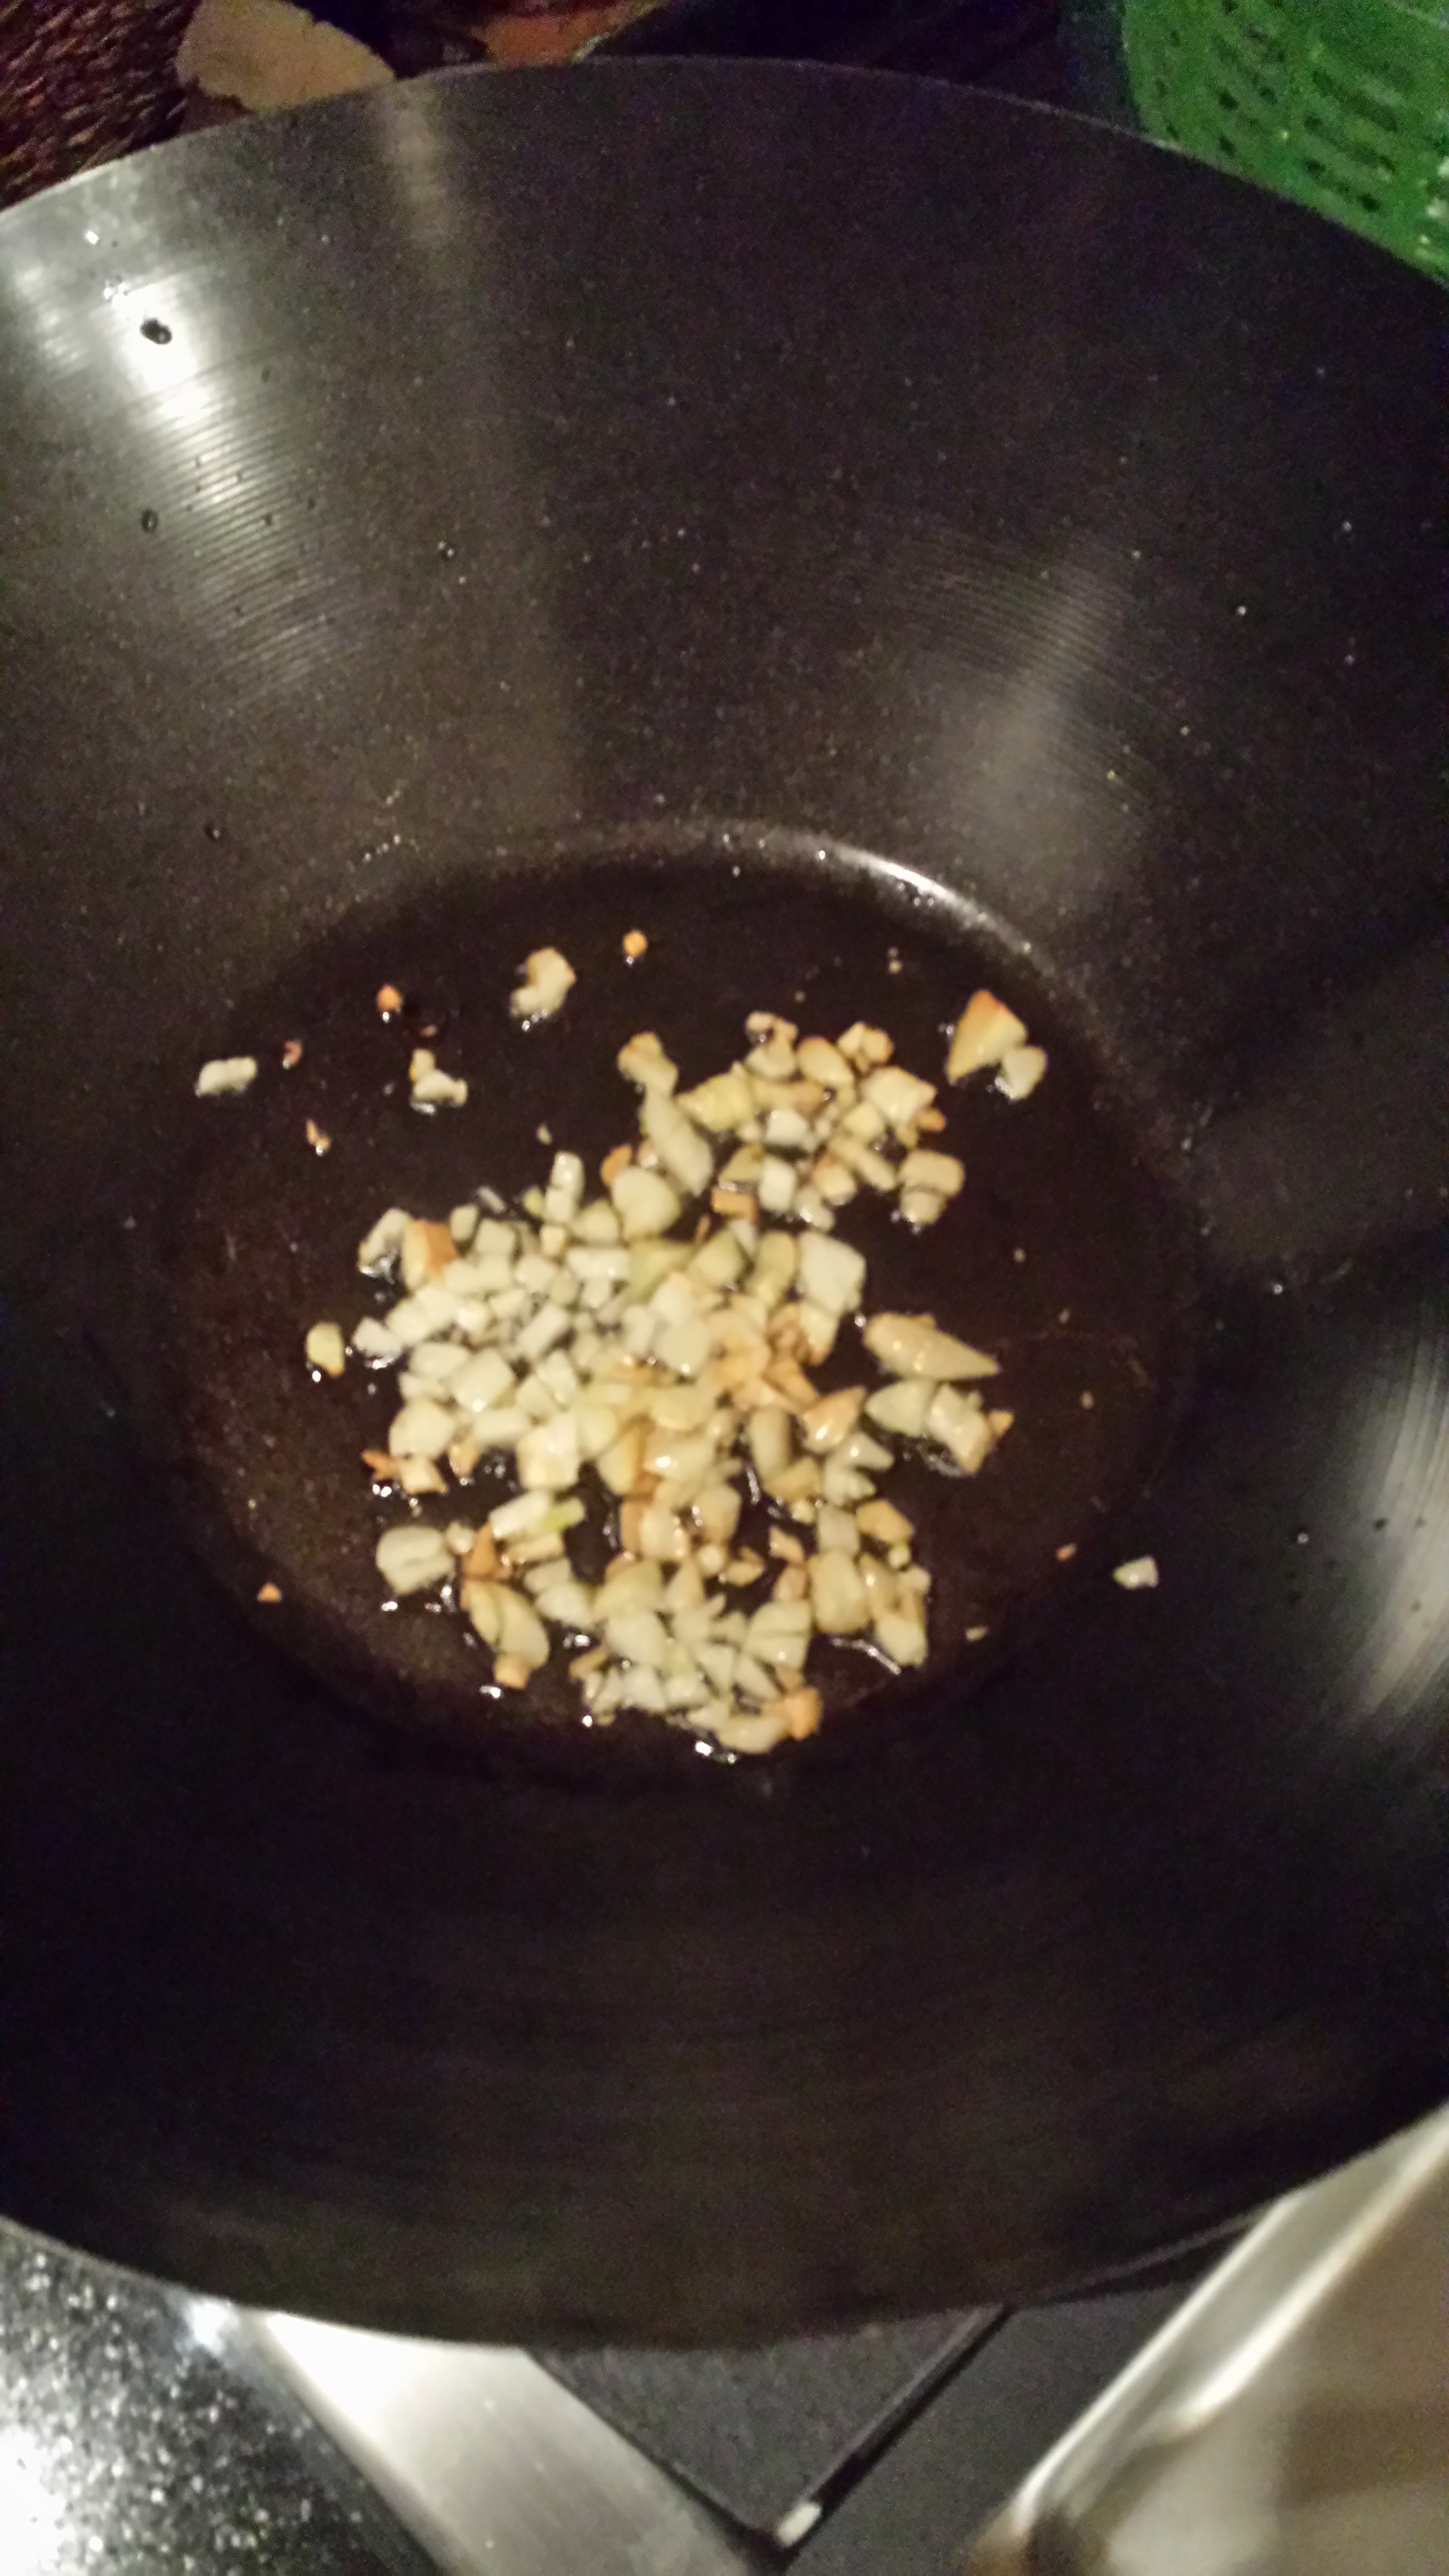
While the fish is cooking, start on the kale. On medium heat, warm olive oil and add garlic. Sauté for about 1 minute until garlic is cooked. Add kale and mix frequently with a wooden spoon until the kale is wilted and add the gomasio. If you feel like a lot of smoke is coming from the pan, lower the heat a bit. The kale should only take about 5-7 minutes.

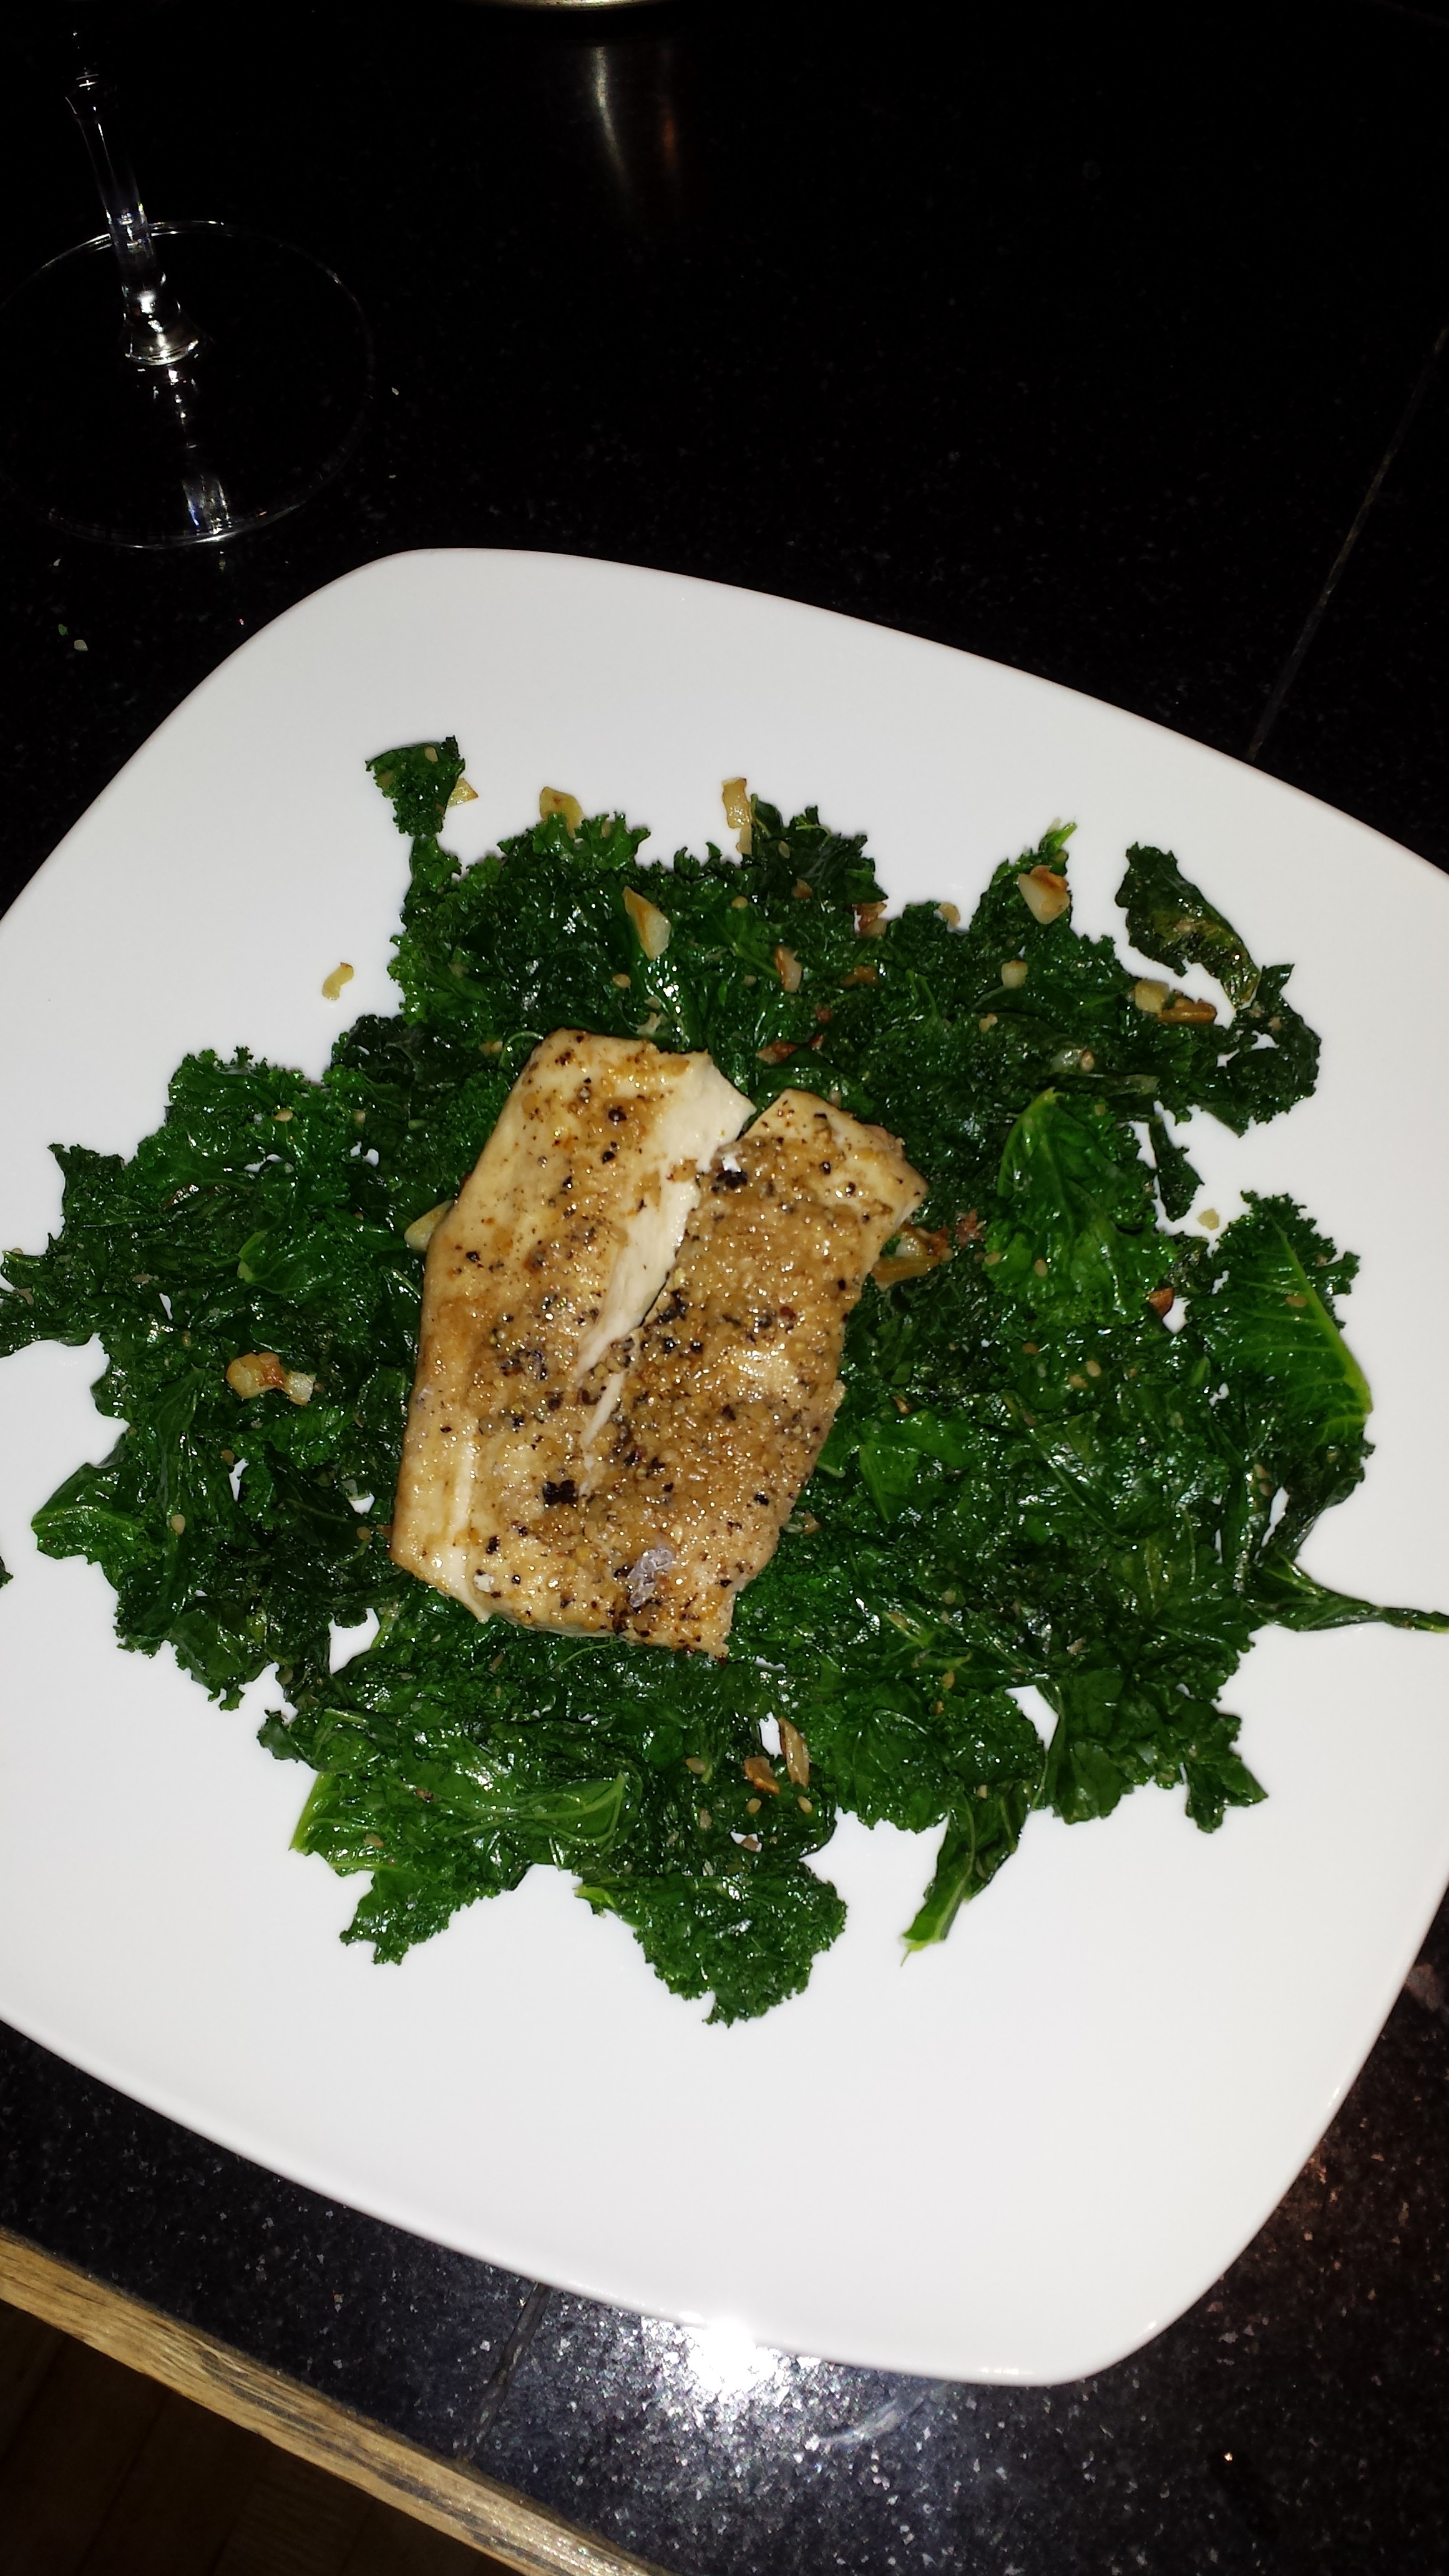
Once fish is cooked, remove from oven and set aside while you plate the kale. I take the sides of the foil and cover the fish until I'm ready to eat it - this let's it steam up a bit more and prevents it from cooling off. Put the kale on a plate and plop the fish on top. You now have a beautiful and nutritious meal! Nom nom!

Arugula Salad with Halibut, Pinto Beans & Veggies

I love salads. Especially when I just spent 14 days in Morocco eating bread with numerous meals (lots of healthy stuff happened, don't get me wrong, but bread is a staple over there). And yes, I ate the bread and yes, I liked it. And yes, I felt majorly bloated after the meal.

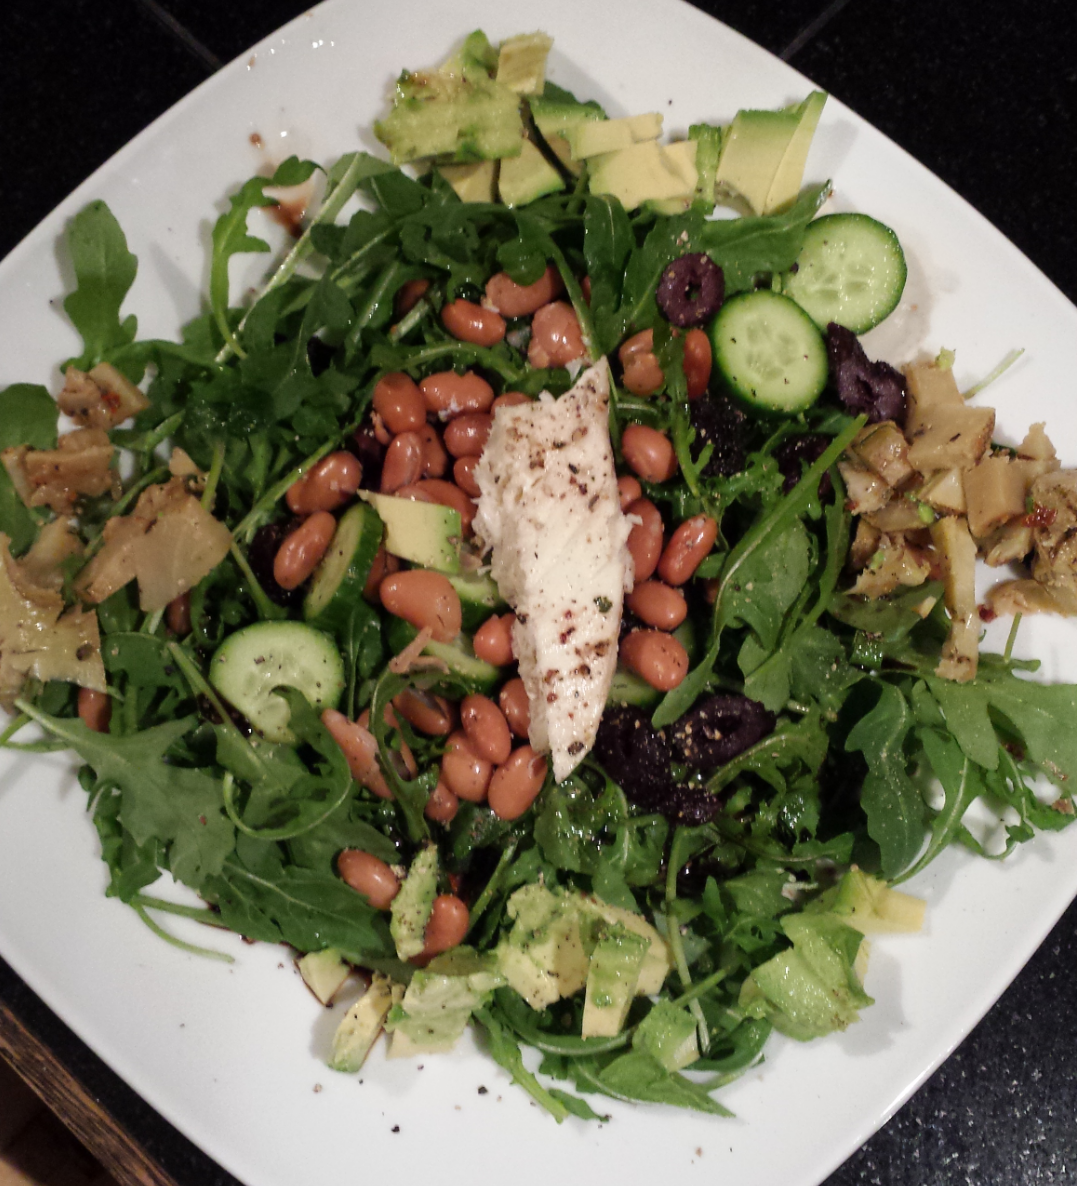
Anyway, here is a simple salad that will satisfy your tastebuds and also looks pretty nice on a plate. ;-) I used artichokes, avocado, pinto beans, olives, Persian cucumbers, but you can use whichever veggies you want - onions, tomatoes, carrots, or anything you fancy!

Cooking time: 25-30 minutes

Prep time: 10 minutes

Serves: 2 (or 2 meals for the single diner)

Ingredients: 2 frozen halibut fillets or of course you can use fresh (I buy from Whole Foods - open packs and let defrost overnight in the fridge) 1 T Olive oil ½ of lemon, squeezed Himalayan sea salt and fresh ground pepper to taste 2-3oz prepared package of arugula (about half a package or as much as you want!) 5 chopped artichoke hearts 1/4 chopped avocado 1/4 cup pinto beans (strained and rinsed) 1 Persian cucumber or 1/4 cup chopped regular cucumber 6 small black olives (I used black turkish olives) 1 1/2 T Olive oil (for dressing) 1/2 T Balsamic vinegar (for dressing) 1/2 lemon, squeezed (for dressing) Himalayan sea salt and ground black pepper - topper

Cooking & Chopping: Preheat oven to 350 degrees. Put fish in a shallow dish and top with olive oil, white vinegar, and salt and pepper. Then place halibut on a cookie sheet with piece of foil (to save cleaning time) Once the oven is preheated, place halibut into the oven. Set timer for 25 minutes and chop up your salad toppings. Check the fish in 25 minutes - it should flake with a fork.

Place arugula in a bowl and toss with the olive oil, lemon, salt and pepper; place on plate. Top with your veggies. When halibut is cooked, remove and separate halibut from skin carefully with a spatula (unless you like the skin). Place about 5 ounces of halibut on top of your salad and top with a little fresh squeezed lemon and ground pepper. Put on a plate and eat up! Yum!

Greek(ish) Baked Mahi Mahi

Whenever I make mahi mahi I find it incredibly hard to find a recipe that I like and I'm not sure why this happens. With this recipe, I have solved my problem. This is my version of a Greek-style mahi mahi...if you add citrus fruit, olive oil and salt, you can make anything amazing. :) Cooking Time and Temp: 25 minutes at 425 degrees

Prep Time: 20 minutes

Serves: 2

Ingredients: 2 wild mahi filets, (also, Whole Foods has a nice wild mahi in the freezer section) 1 t sea salt 1 t coarse ground pepper 10 chopped baby tomatoes 10 chopped black olives 1/4 chopped red onion lime juice of 1 lime 1/2 T olive oil 1/2 T white vinegar

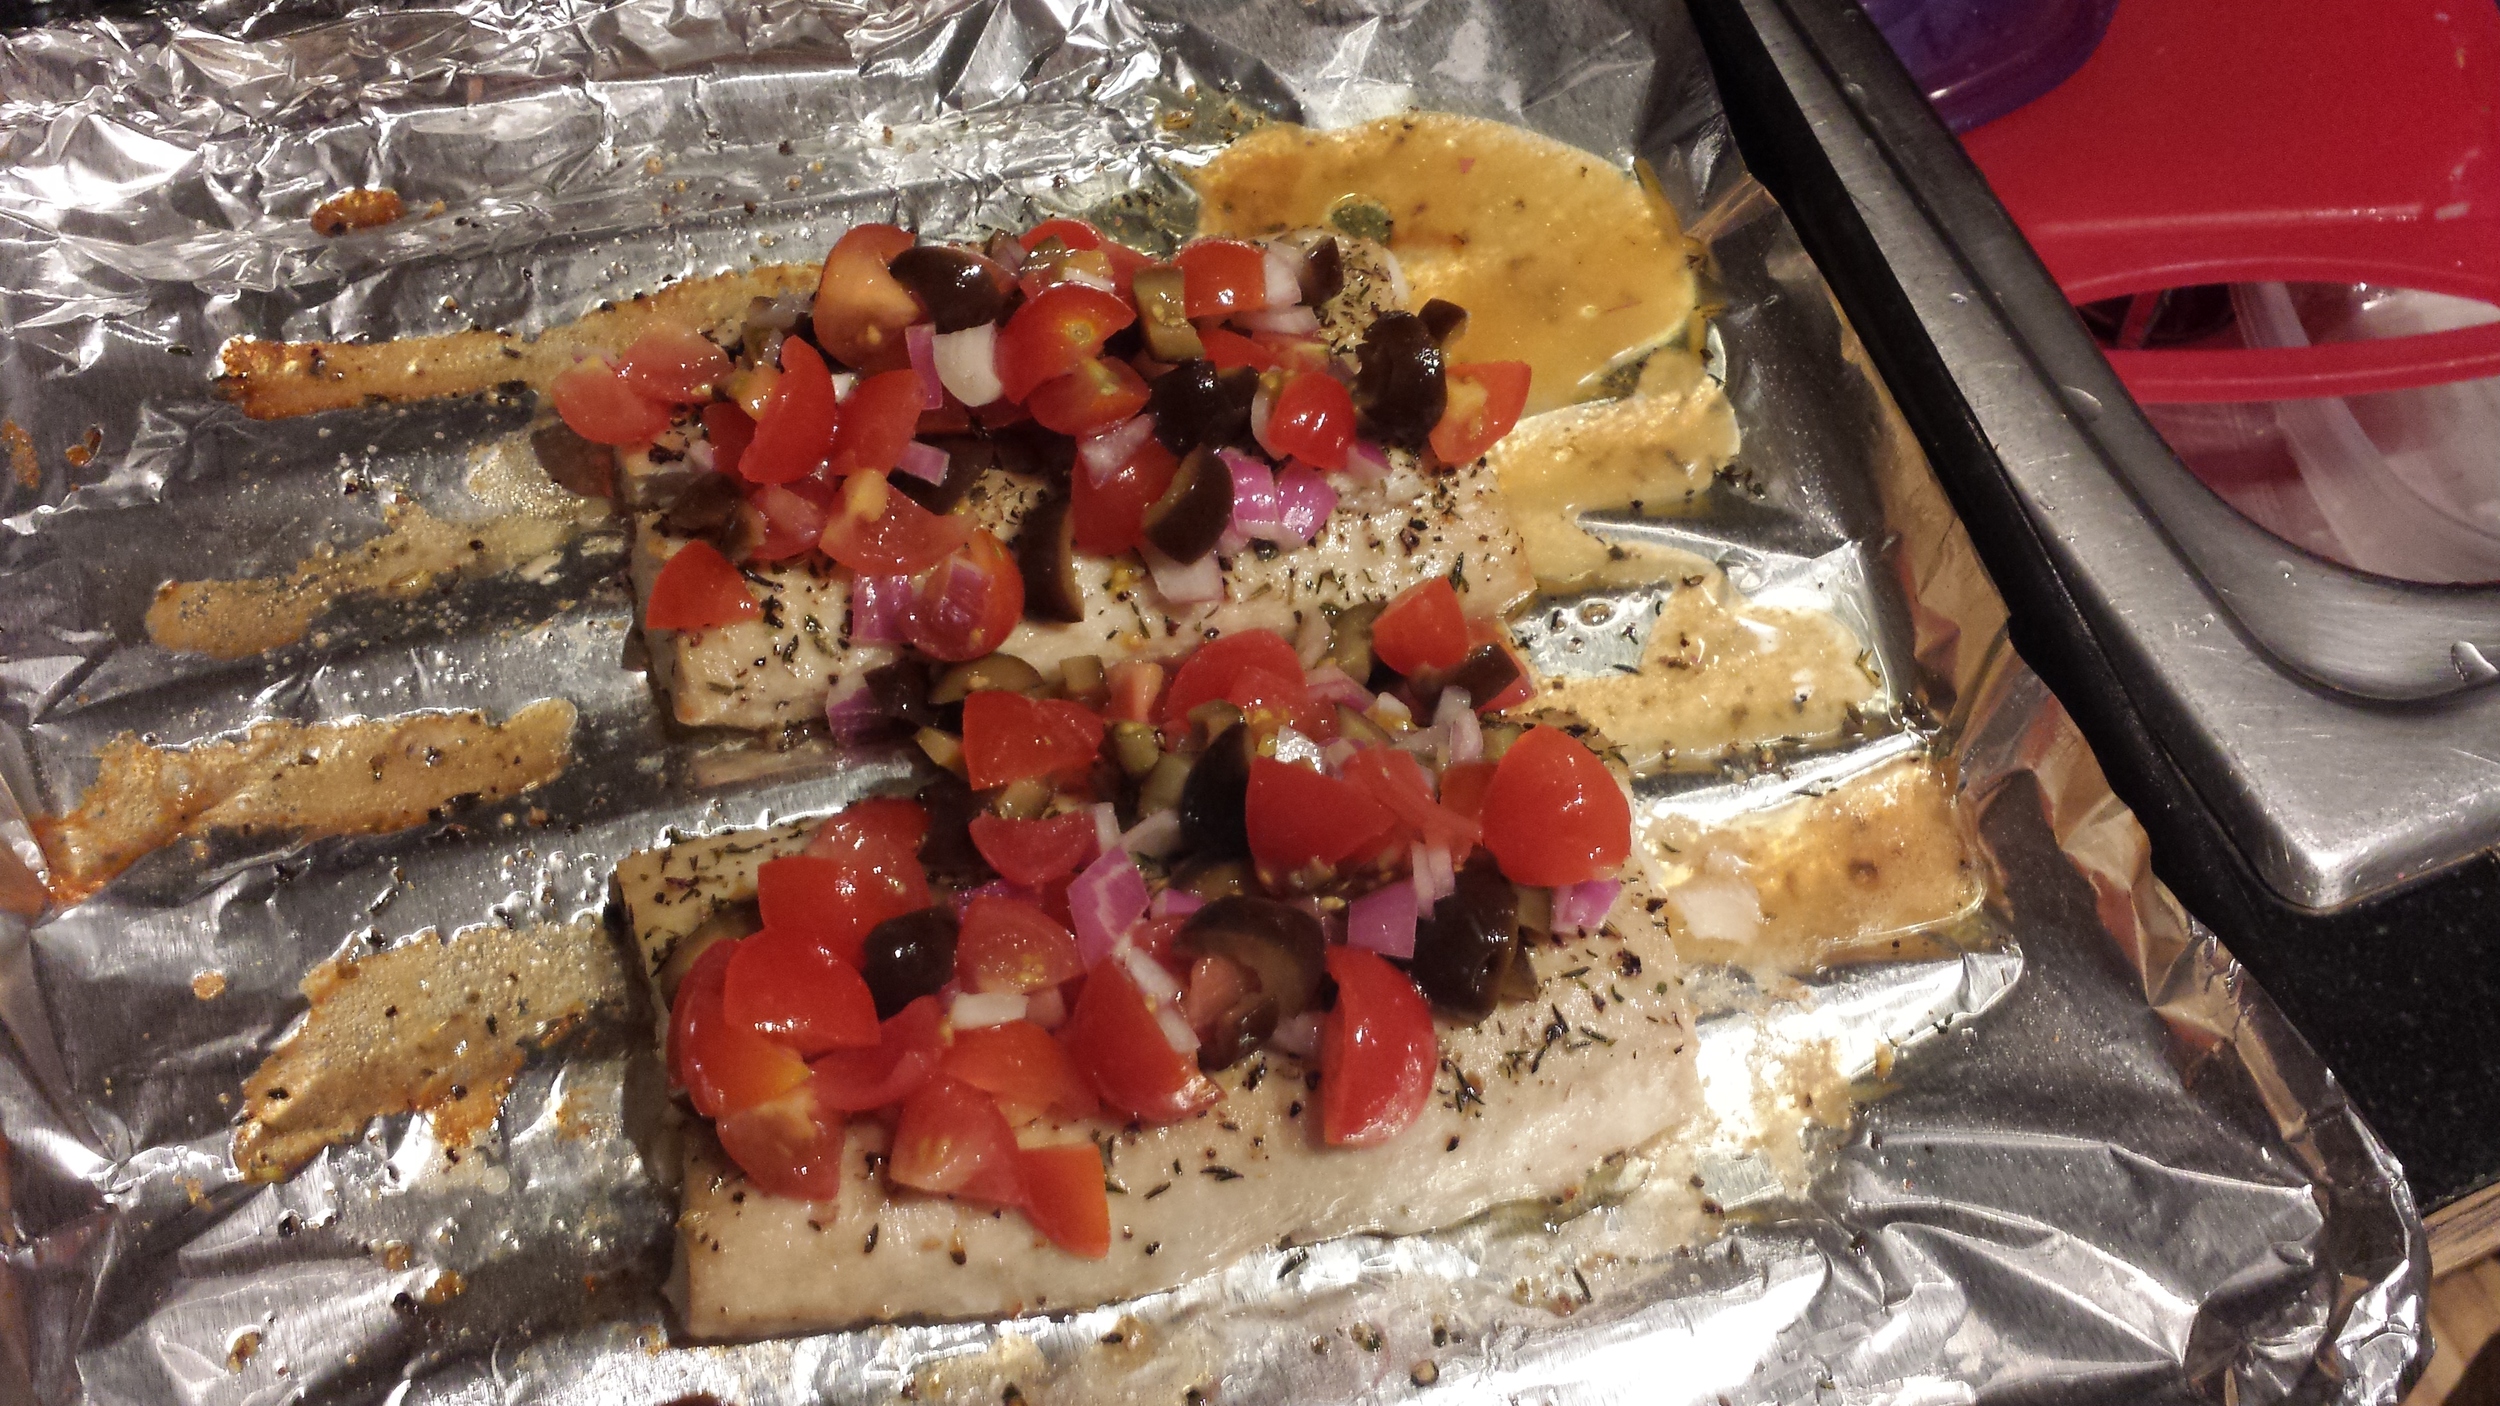
Cooking & Chopping: Pre-heat oven to 425. Place tin foil on baking sheet and lightly brush with olive oil. Place fish on top and rub with olive oil, sea salt and pepper. Place in heated oven. Chop tomato, olive and onion and top with olive oil and vinegar.  Mix and set aside.

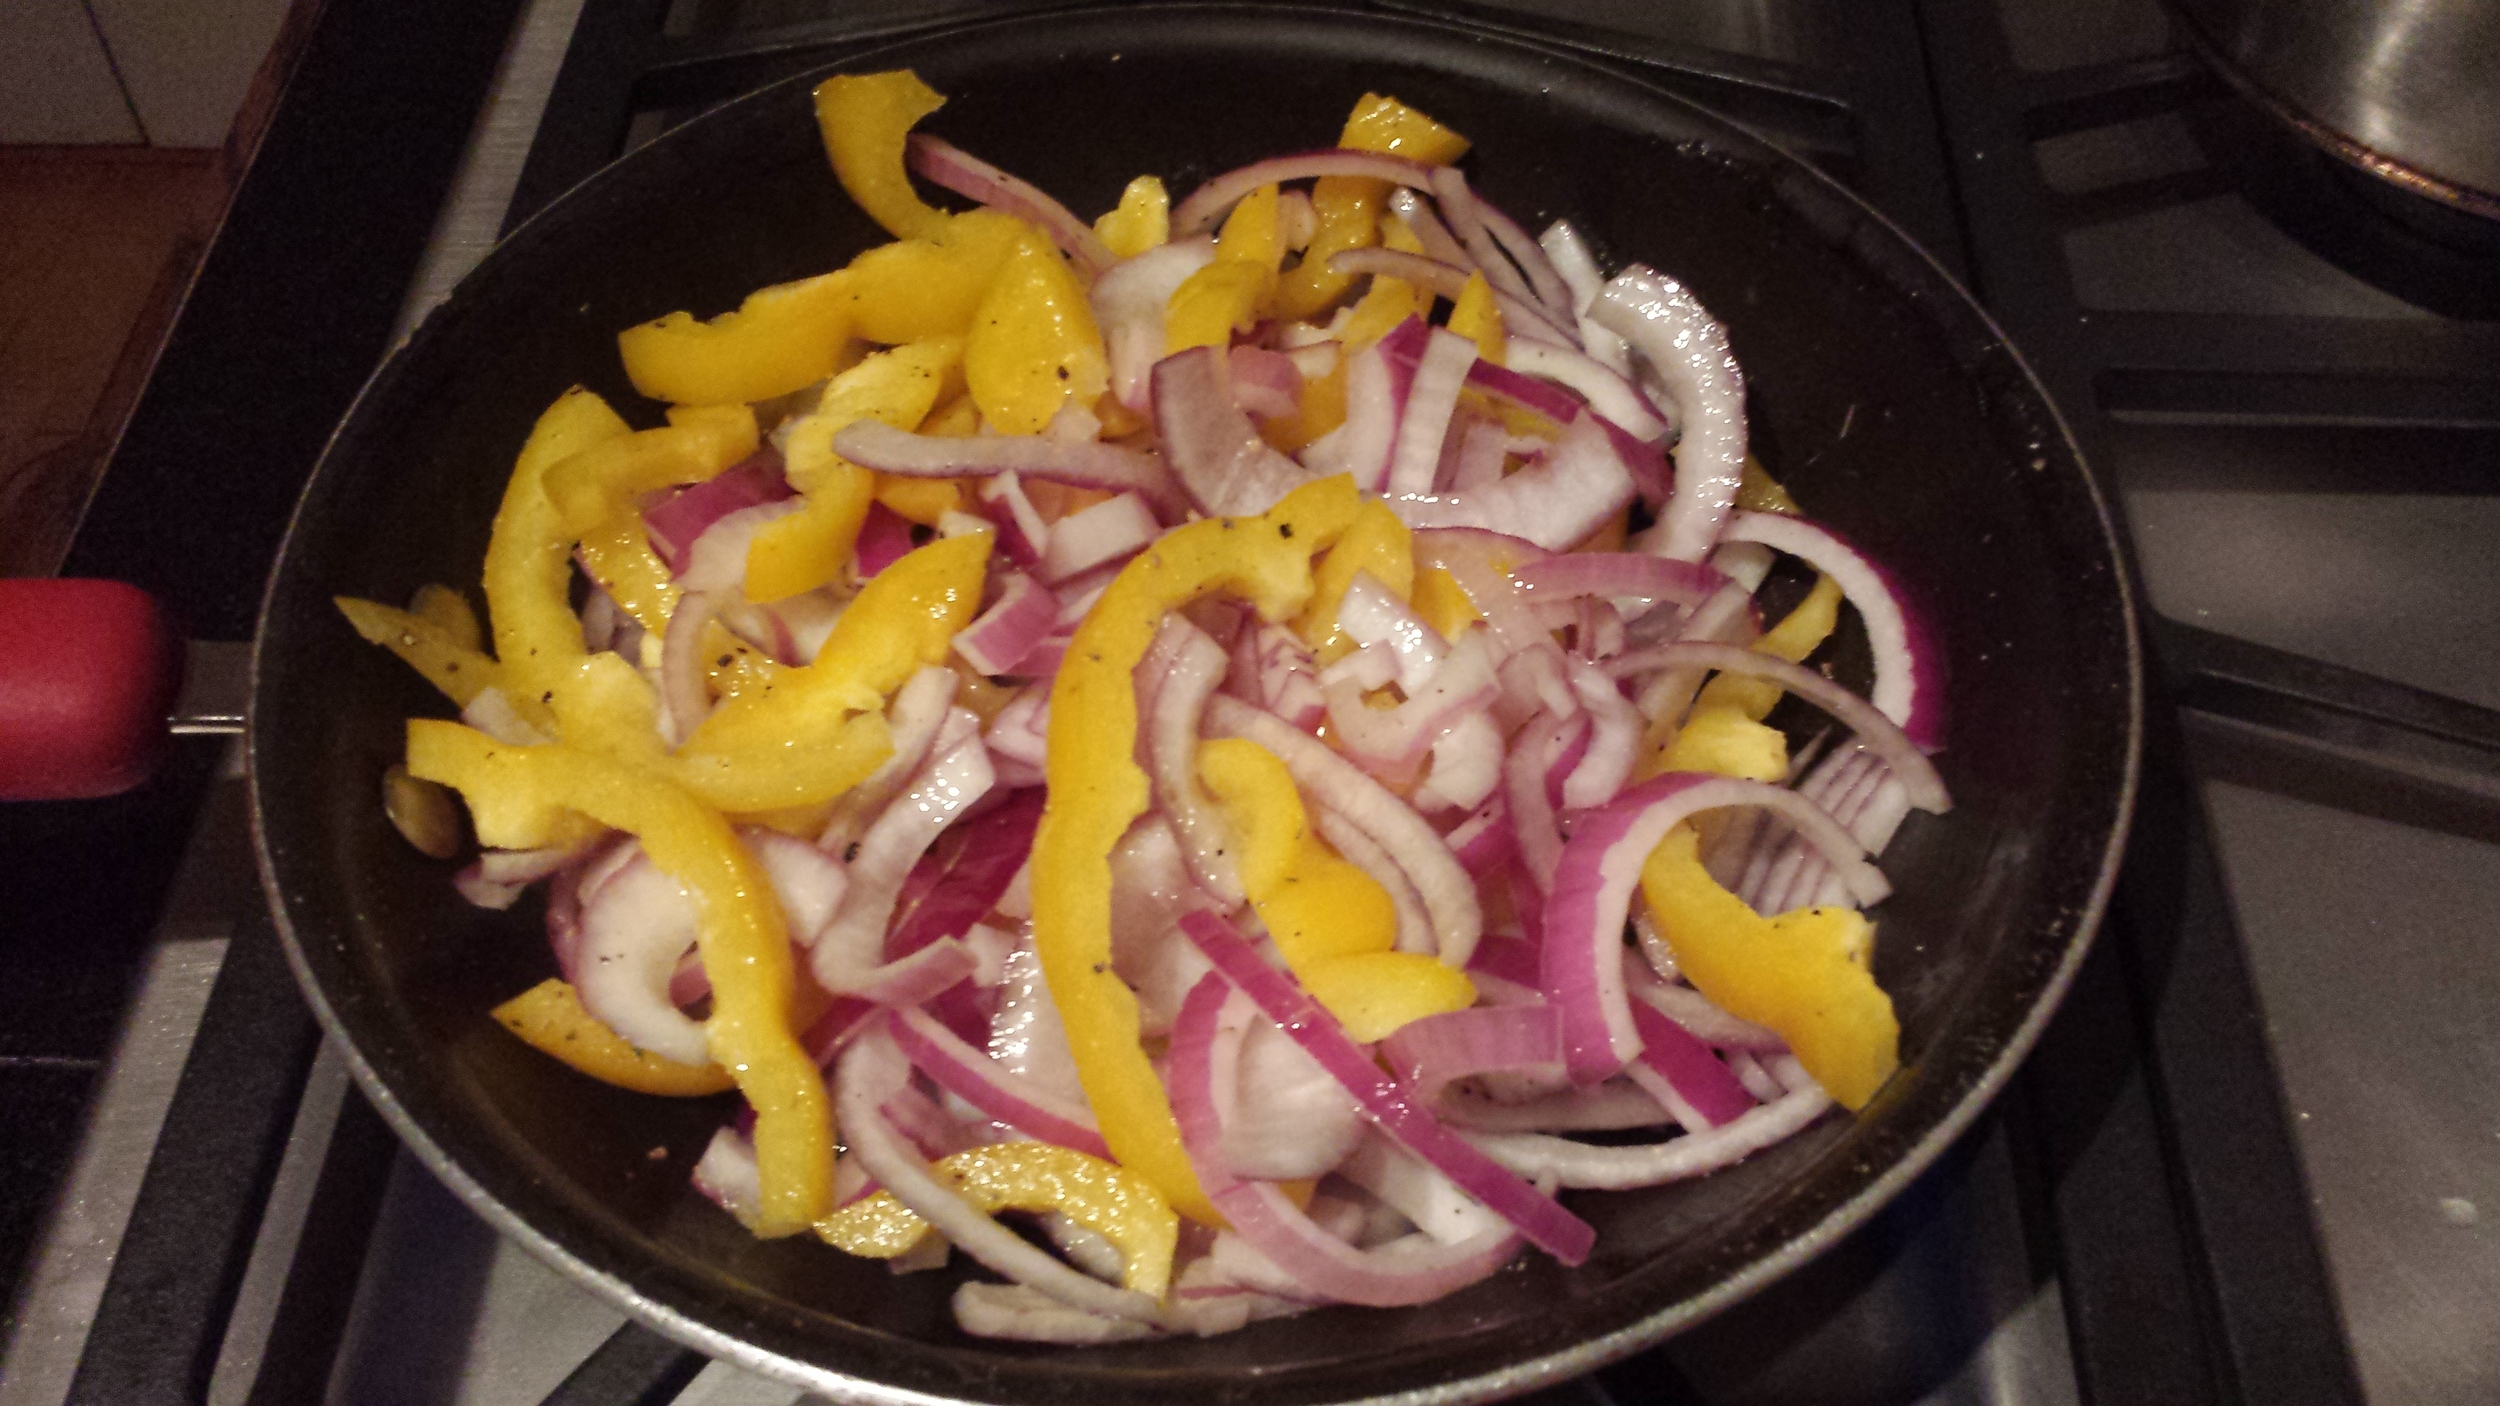
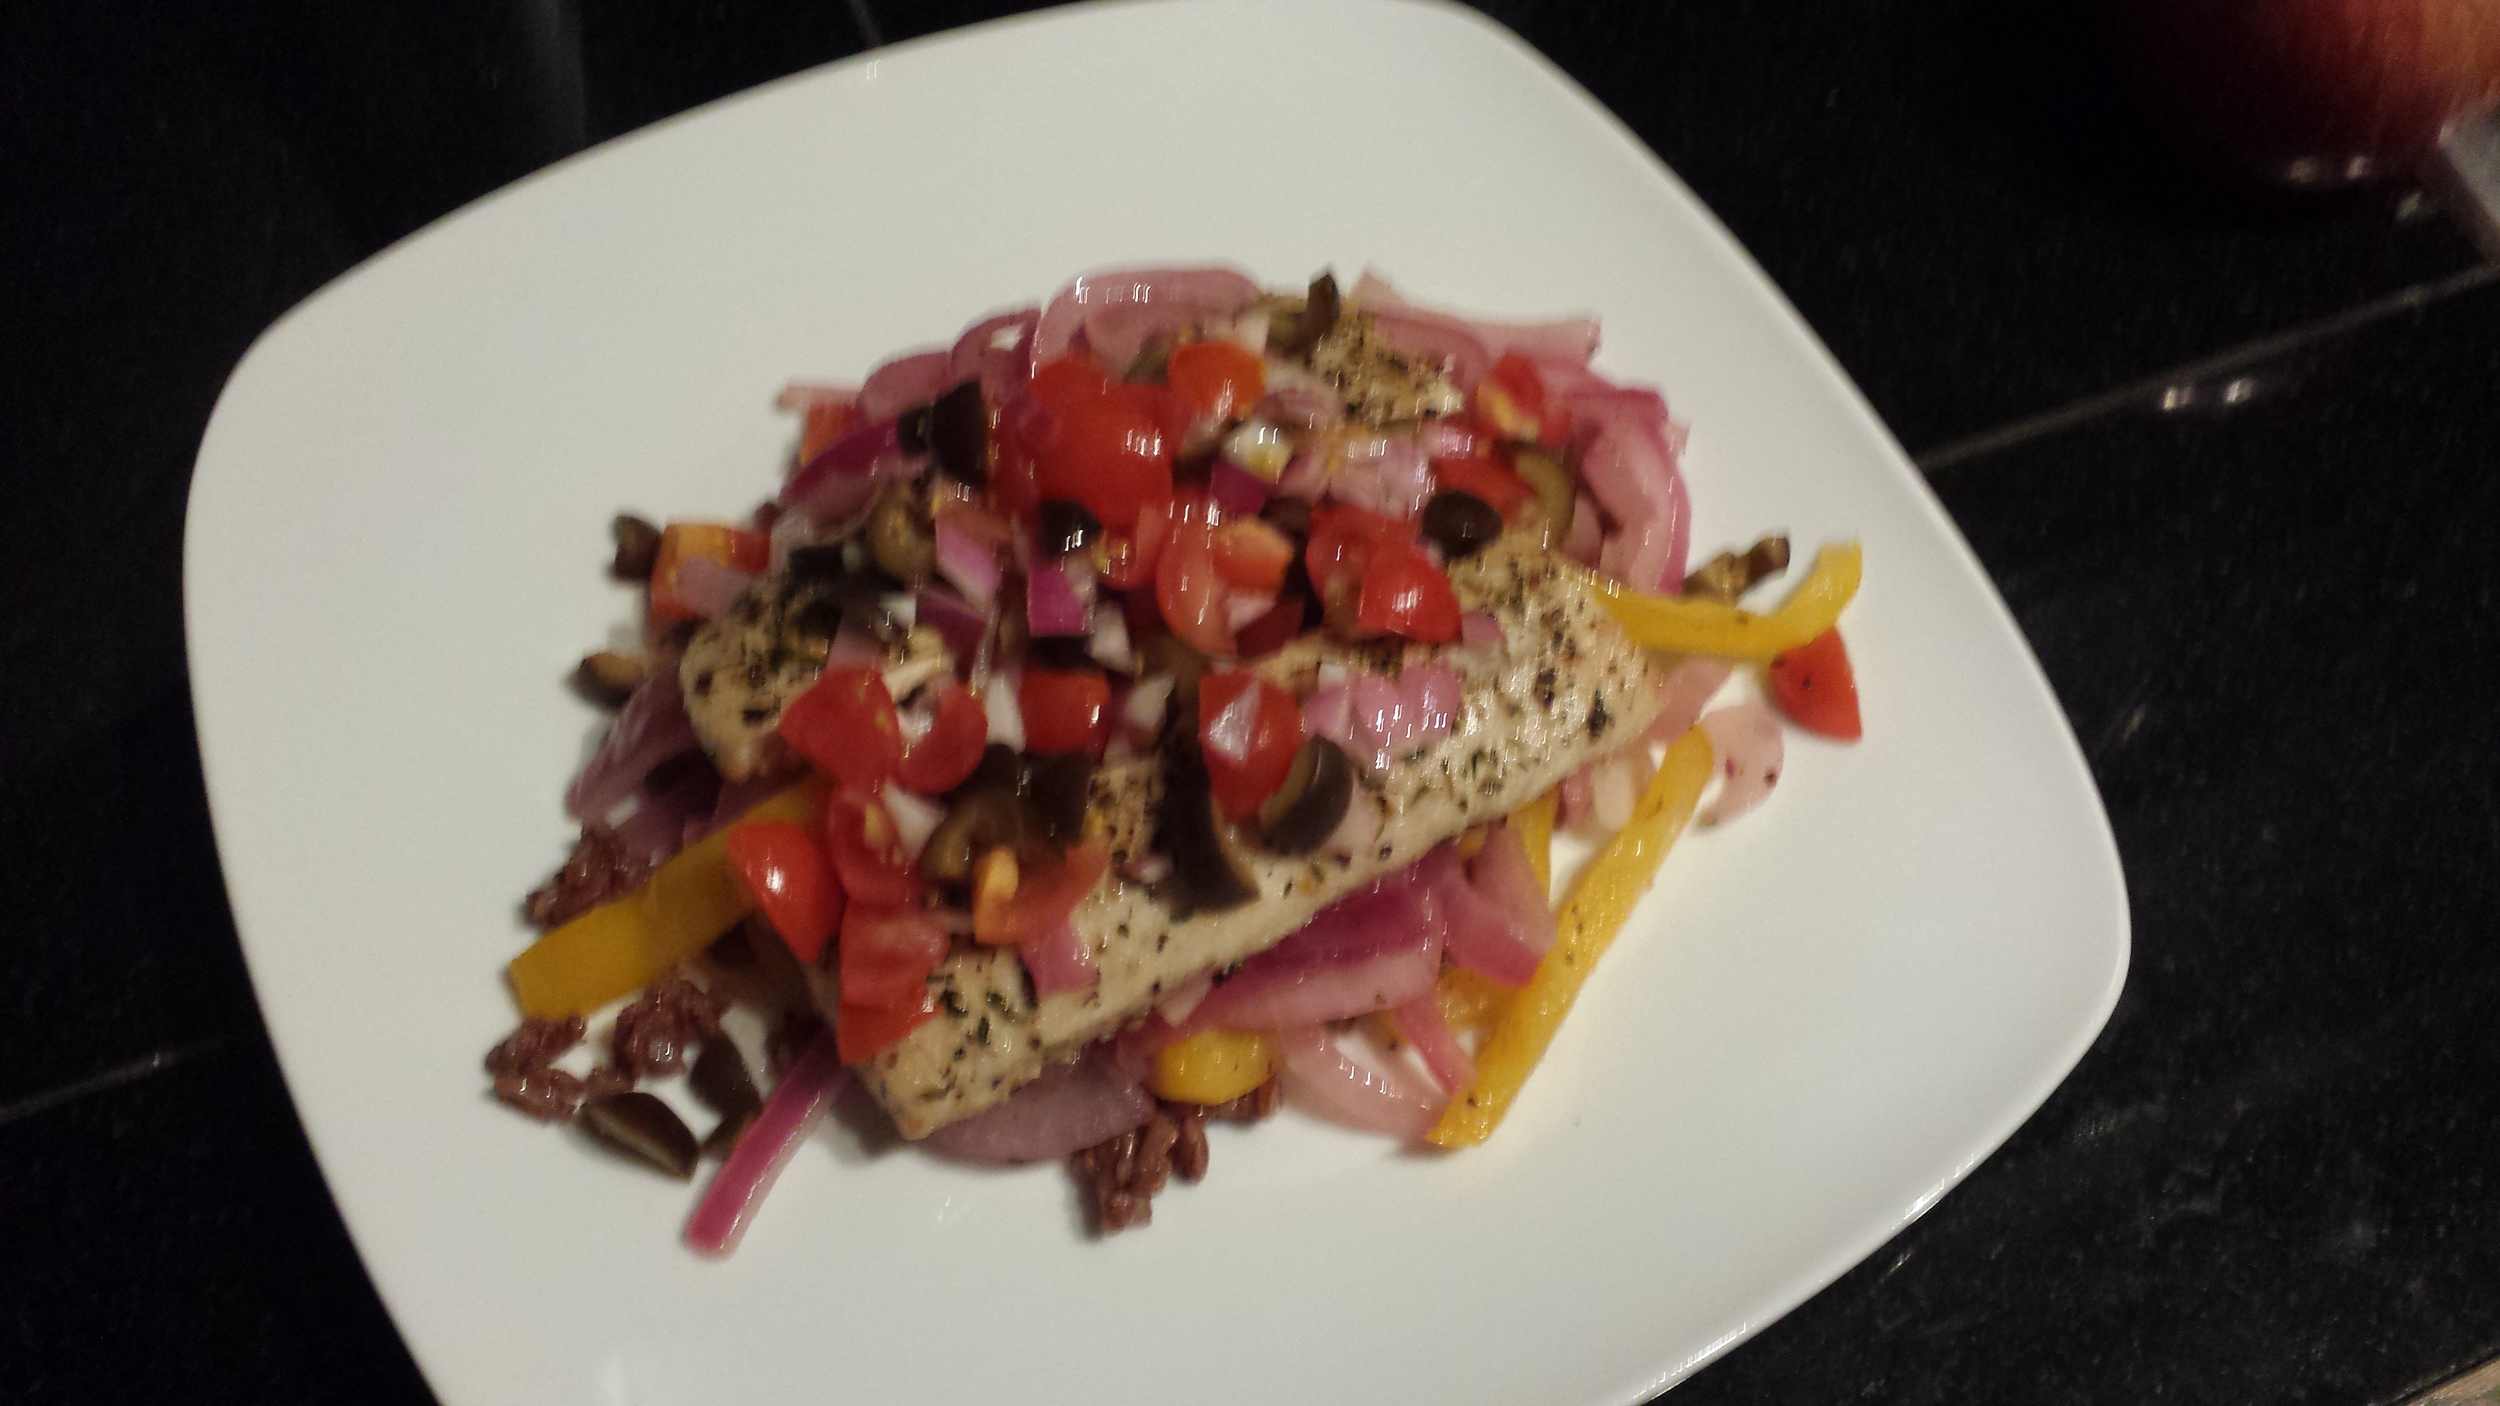
Cook fish for 15 minutes. Remove from oven and top with tomato mixture and cover lightly with foil. Cook 5 to 10 minutes longer until opaque and flaky. Remove and put over your favorite veggie or grain (I like a combination of 1/8 cup brown rice and sauteed onion and bell pepper) - photo below. For the veggies, coarsely chop and sauté in olive oil for about 10 minutes.

Enjoy!! Or if you want to get fancy, you can say it in Greek: καλή όρεξη

Happy New Year (yes, I know it's February)

Happy 2013, everyone! I realize this post is a little past due, however, I needed some time to get my thoughts together…and a Puerto Rican vacation. For me, this year is going to signify focus – it’s a toughy, but I’ve got this. (For those of you who know me, my mind is all over the place.)

When looking back on 2012 and the intentions I set for myself, I said, “I want to explore some of my personal goals and really focus on being happy, while still maintaining my success at ‘the office.’” What does this mean for me in 2013? Focusing on the present: there is no reason to dwell on the past or let my mind take over my state of being—this can turn into an unhealthy emotional spiral. That’s just no fun. :)

One of the most important accomplishments for my career in 2012 is graduating from the Institute for Integrative Nutrition (IIN). I am proud to say that I am officially a Certified Holistic Health Counselor and accepting new clients! If you or anyone you know wants to learn more about their health, please reach out for a free consultation! Yes, I’m shamelessly promoting myself.

In the world of Equinox, I just finished a nutrition certification through Precision Nutrition and, upon passing the test at the end of January, was just promoted to Tier 3+ (the highest level at my gym). I can now offer my clients nutrition advice, in addition to kicking their butts into shape. Next up in the nutrition world, I will be taking a three-day course to become a Poliquin™ BioSignature Practitioner. This course will allow me to provide my clients a well-rounded approach to fat loss by utilizing nutrition and supplementation. I’m super excited!

In my personal life, I went through a pretty big breakup, but was a long time coming, but I came out as a better person. I learned a lot about myself, what I want in a partner and to follow my heart in all situations. A break-up is just a stepping stone to finding the person you will spend your life with, right? And for now, I will continue to enjoy myself as a single woman in Manhattan. :)

In terms of my career, I want to begin putting together a plan to start my own company, which will combine nutritional coaching and personal training. I hope to do this with a girlfriend of mine who is quitting her job. More to come on this new development!

Overall, in 2013, I want to explore, create, and of course, focus.

INTENTIONS FOR 2013

• Enjoy simple pleasures: short trips, books, yoga, meditation, cooking

• Spending time with and visiting friends and family

• Volunteer work - in the US or overseas

• Make every moment count and use my free time productively

• Continue advancing my studies of nutrition, kinesiology and anatomy

• Finally use the art supplies under my bed (I purchased last year) to paint

• Take weekend trips (lots of them!)

• Monthly massages

• Visiting sites in NYC that I’ve yet to see

• Updating this blog!


Chia Seed Pudding

The other night I was desperately searching for a dessert item in my kitchen, and unless I've purchased some raw dark chocolate from Organic Avenue, I typically don't have anything to find. I guess fruit is usually what I go for when craving sweets, but I was out of stock there, too. Then, I had an epiphany (ha ha) and remembered my chia seeds could be manipulated into something dessert-like, rather than their usual place in the smoothie. I searched online for a quick recipe and came across one that I liked, and then I changed it around a bit. Nutritional fun fact (taken from Andrew Weil's site): When added to water and allowed to sit for 30 minutes, chia forms a gel. Researchers suggest that this reaction also takes place in the stomach, slowing the process by which digestive enzymes break down carbohydrates and convert them into sugar (less sugar cravings and longer satiation). Yay!

Benefits of Chia Seeds:

  • rich in omega-3 fatty acids, even more so than flax seeds (chia is one of the most concentrated sources of omega-3 in any food)
  • rich in antioxidants
  • rich in fiber and nutrients - (25 grams give you 6.9 grams of fiber), calcium (18% daily value), phosphorus, magnesium, manganese, copper, iron, molybdenum, niacin, and zinc
  • high in omega-6
  • And...protein! :)

Ingredients

1/3 cup chia seeds

2 cups liquid of your choice - I used homemade cashew milk

1/2 T sweetener

Fruit, chopped (1/2 peach, 1/banana, 1 kiwi, or whatever you like)

2 t cinnamon

Directions:

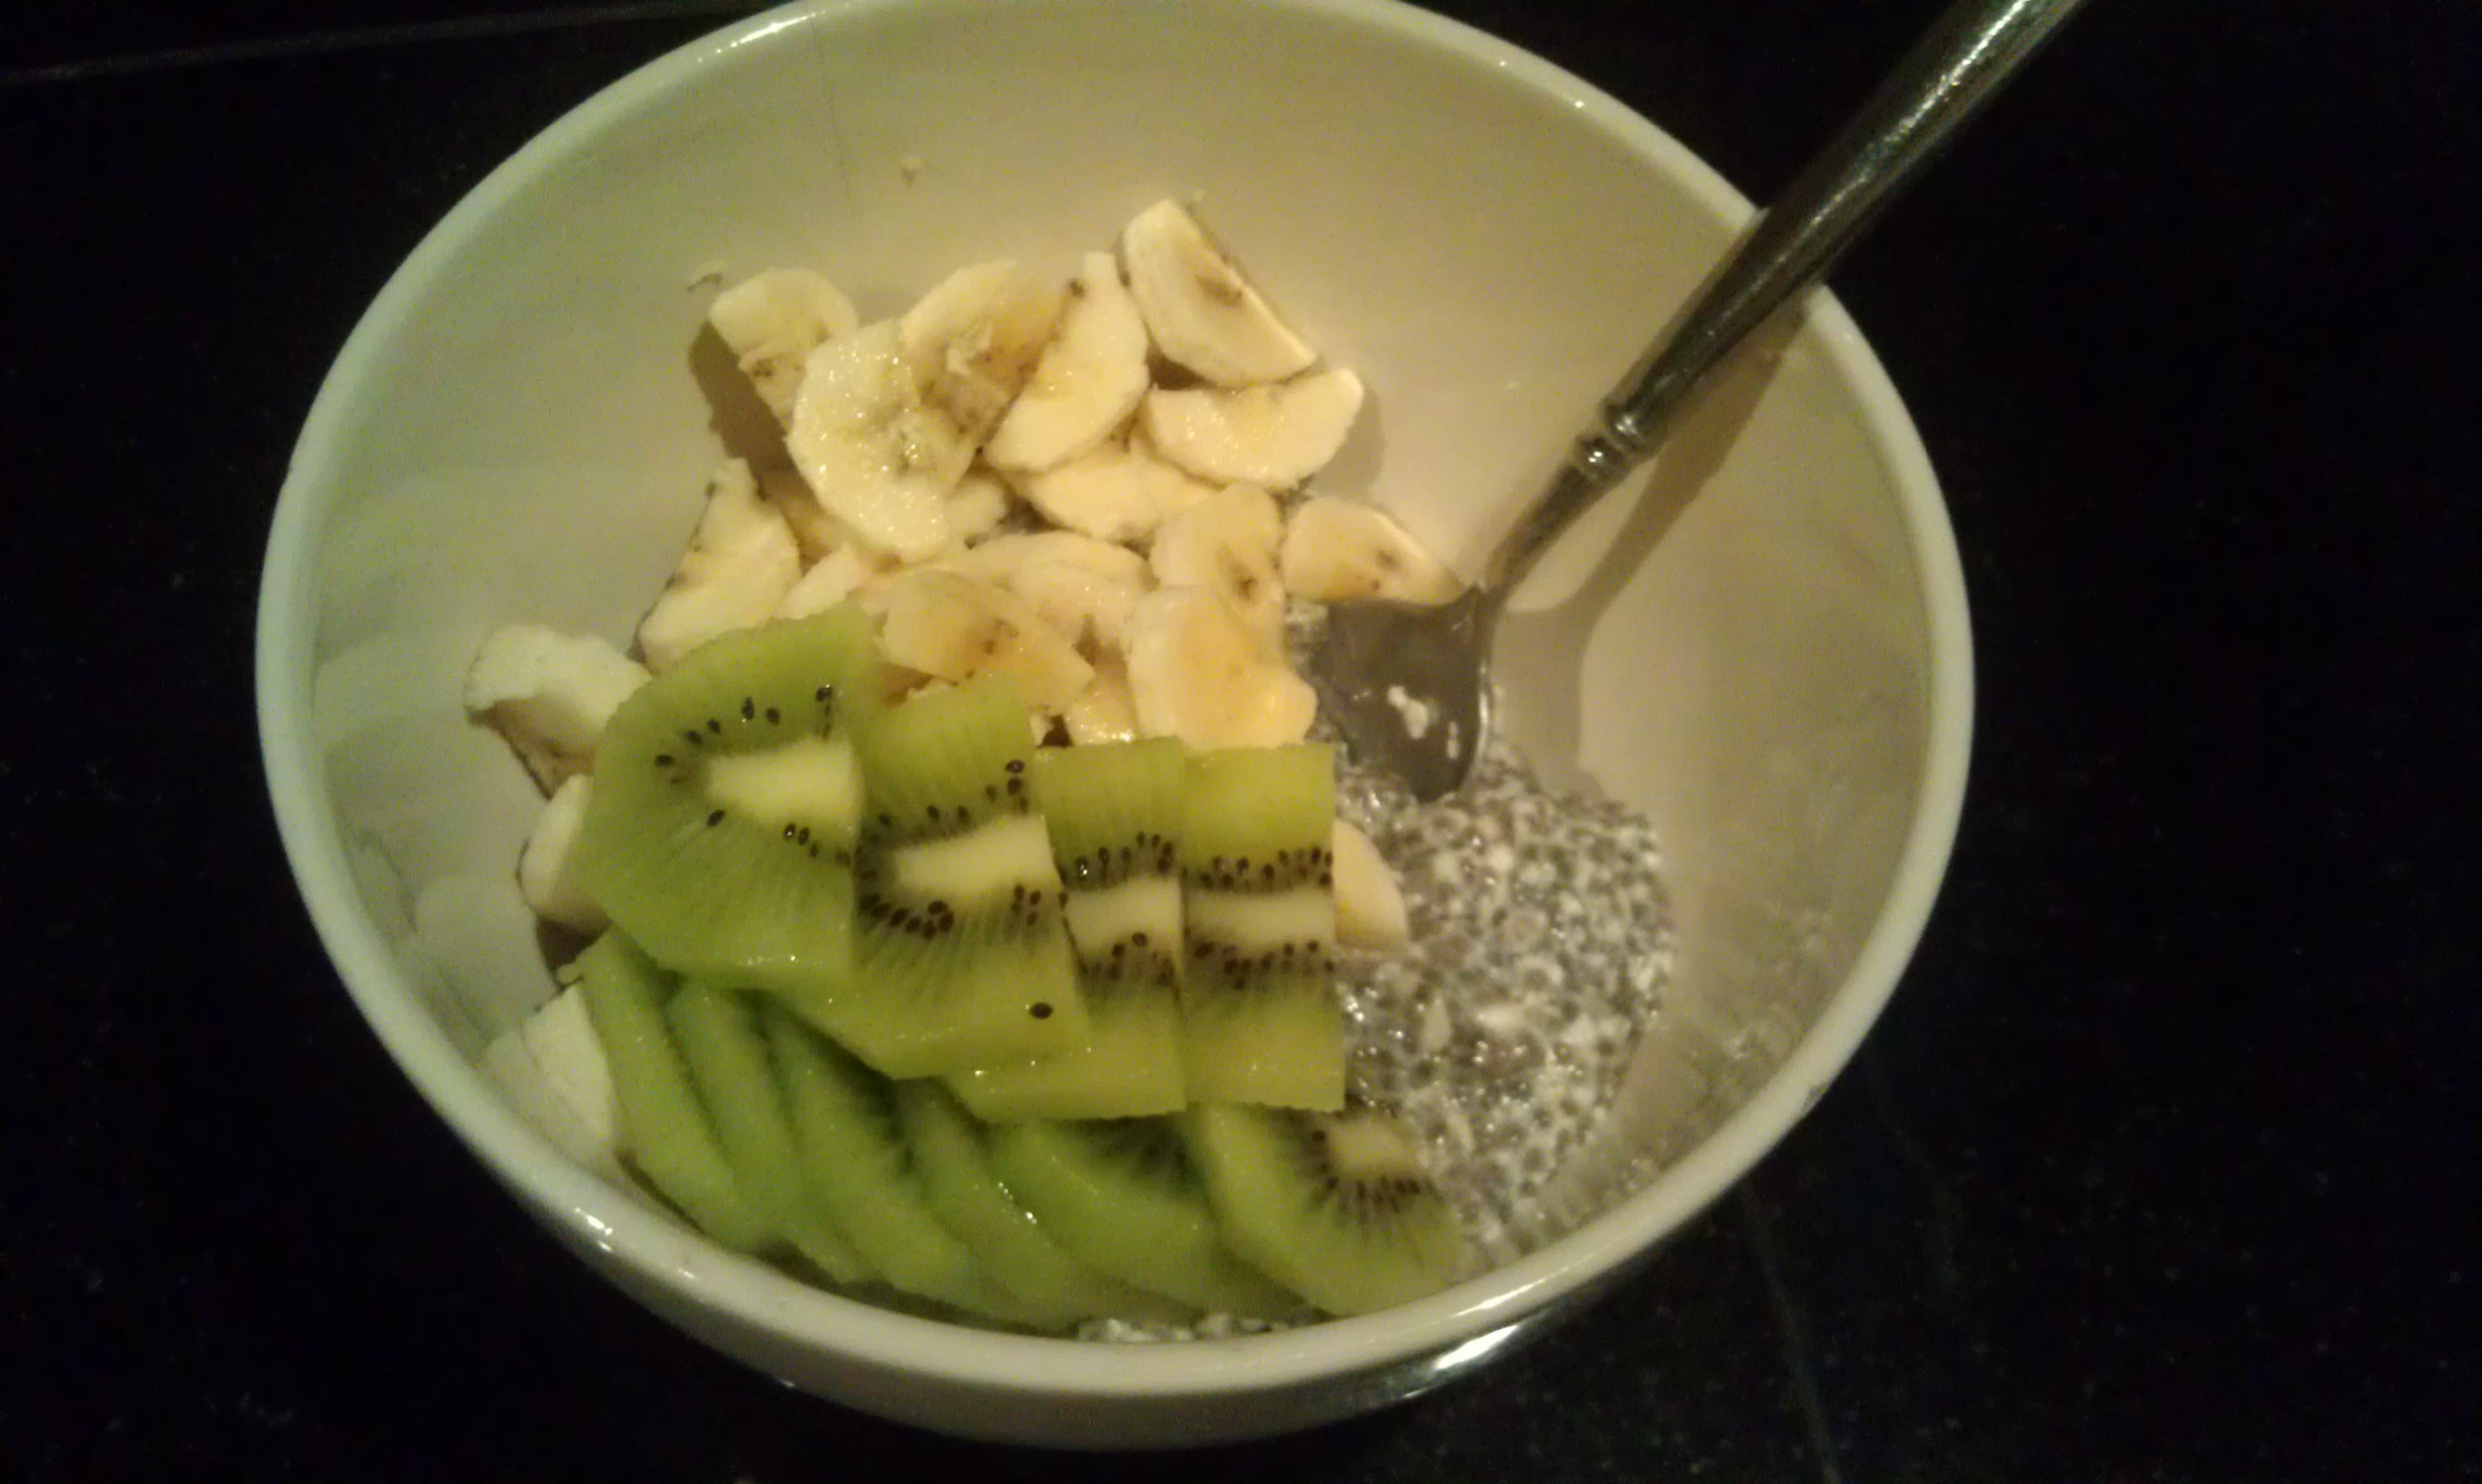
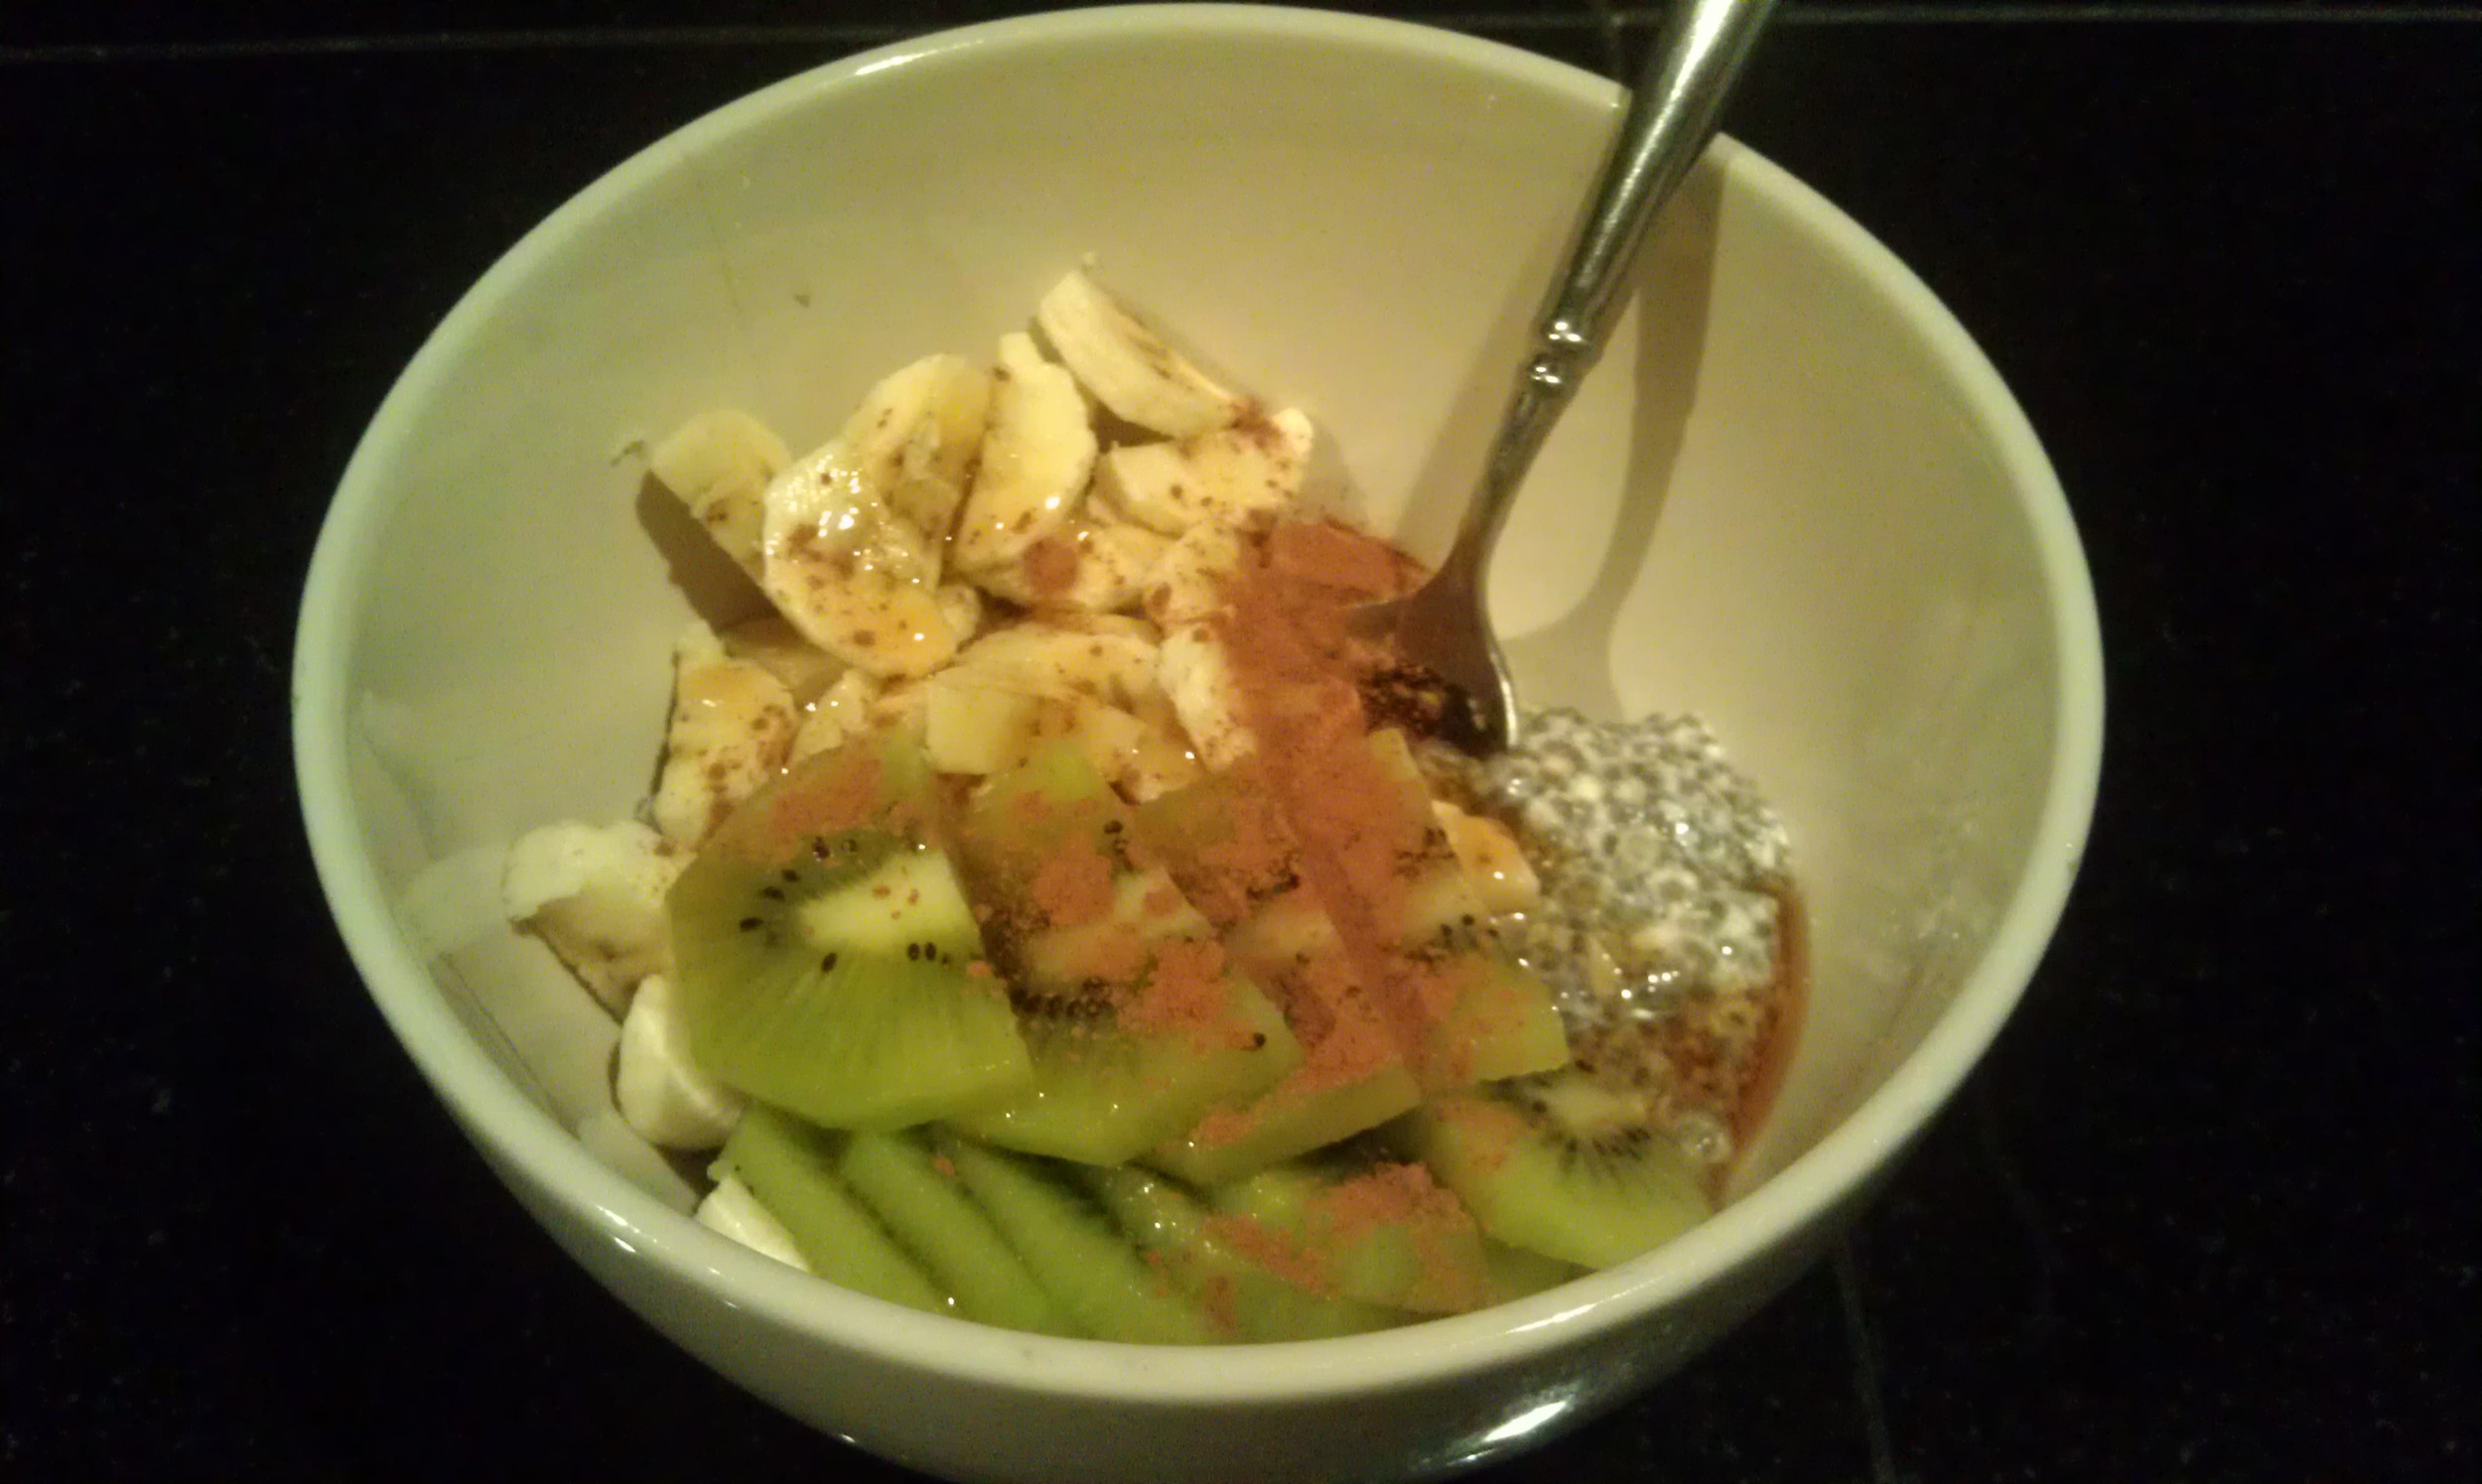
Place chia seeds, water, and sweetener in a bowl that has an air-tight lid. Stir and cover. Put in the refrigerator for 30 minutes, then stir again. The chia seeds will have become a gel. Put chopped fruit, a tad more sweetener and cinnamon and eat up! You can keep the pudding in the fridge for up to 2 weeks, but if you use a homemade nut milk, it will only last about 5 days (from when you made the milk).

Cashew Nut Milk

I've been really into almond milk, but recently had a latte with cashew nut milk, so I thought I would switch things up a bit. The almond milk has a somewhat acidic and bitter taste (I don't sweeten it) and the cashew has a more nutty, creamy consistency, which is a nice change. Ingredients:

1 cup organic, raw cashews soaked in filtered water, overnight (8 hours) 4 cups filtered water 1 T agave or another organic sweetener (optional)

Directions: Drain liquid from the nuts and rinse a few times with filtered water. Drain again. Place in blender with 4 cups of water and blend until smooth, maybe 2 minutes. Pour into a container and you're all set! I usually do about half this amount of nuts because I don't drink it every day, so make it for yourself or share with friends; they will be impressed with your skills!